Dark-Sky-Friendly Outdoor Lighting: A Homeowner’s Guide
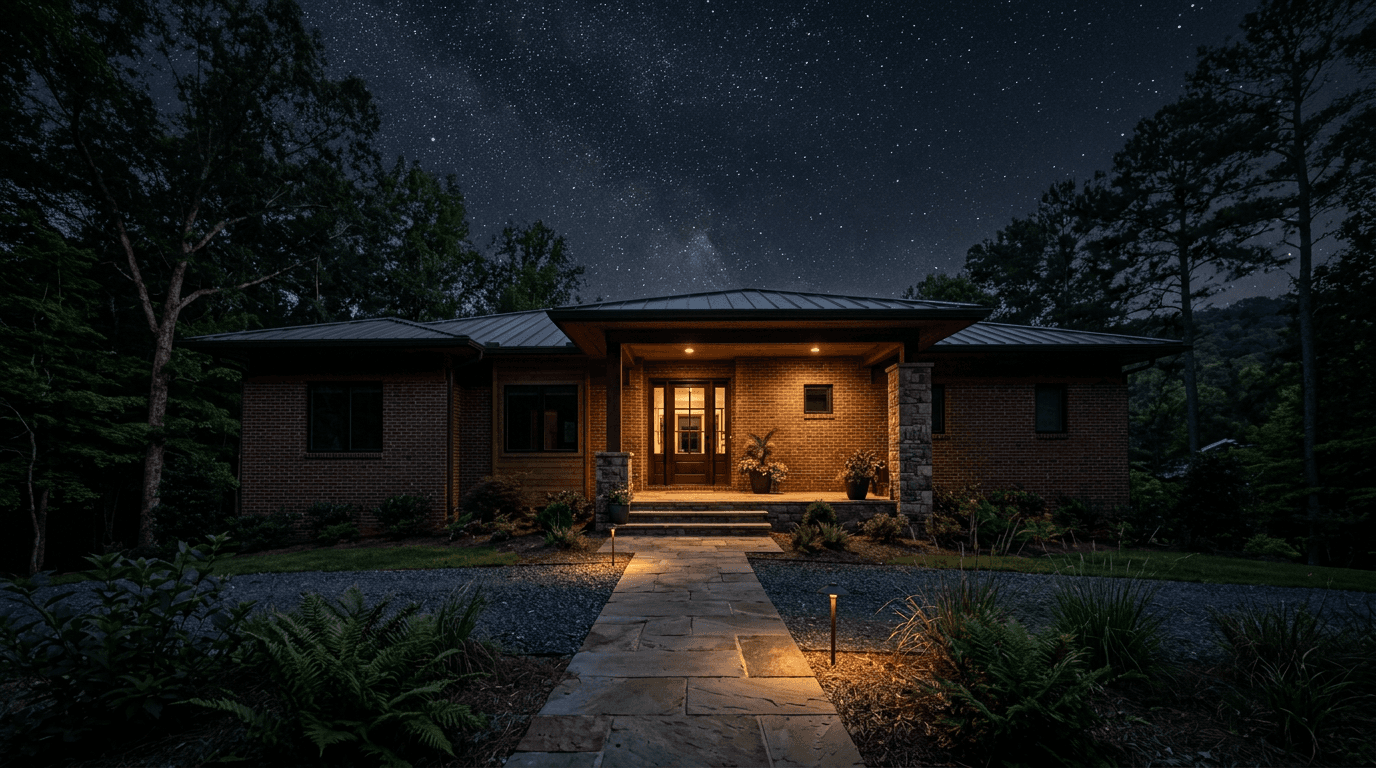
Thoughtful outdoor lighting helps you see an entry, find a path, or enjoy a favorite tree after sunset. More light is not automatically better, though: an exposed bulb, a bright fixture aimed toward a window, or an all-night flood can create glare without making the space feel safer. A dark-sky-friendly design starts with what you need to see and keeps the light close to that task.
Start with a purpose, not a fixture count
Walk the property after dark and name the reason for each light: seeing a step, finding the front door, using a patio, or highlighting a feature you enjoy. If a fixture has no clear job, try turning it off before adding another. This simple inventory often reveals that a few well-placed sources can do more than scattered, overlapping beams.
Think in small zones rather than lighting every corner at the same level. A welcoming entry, a legible walkway, and a softer background can make the whole property easier to read while leaving some areas naturally dark.
Aim light down and keep it on your property
Look at the fixture from the places where people will actually stand: the sidewalk, a neighbor’s yard, a bedroom window, or the patio seating area. If you can see an exposed lamp or a beam shining into someone’s eyes, adjust the fixture, add an appropriate shield, change its position, or choose a more suitable optic. Light should land on the path or surface you want to see—not travel across the property or into the sky.
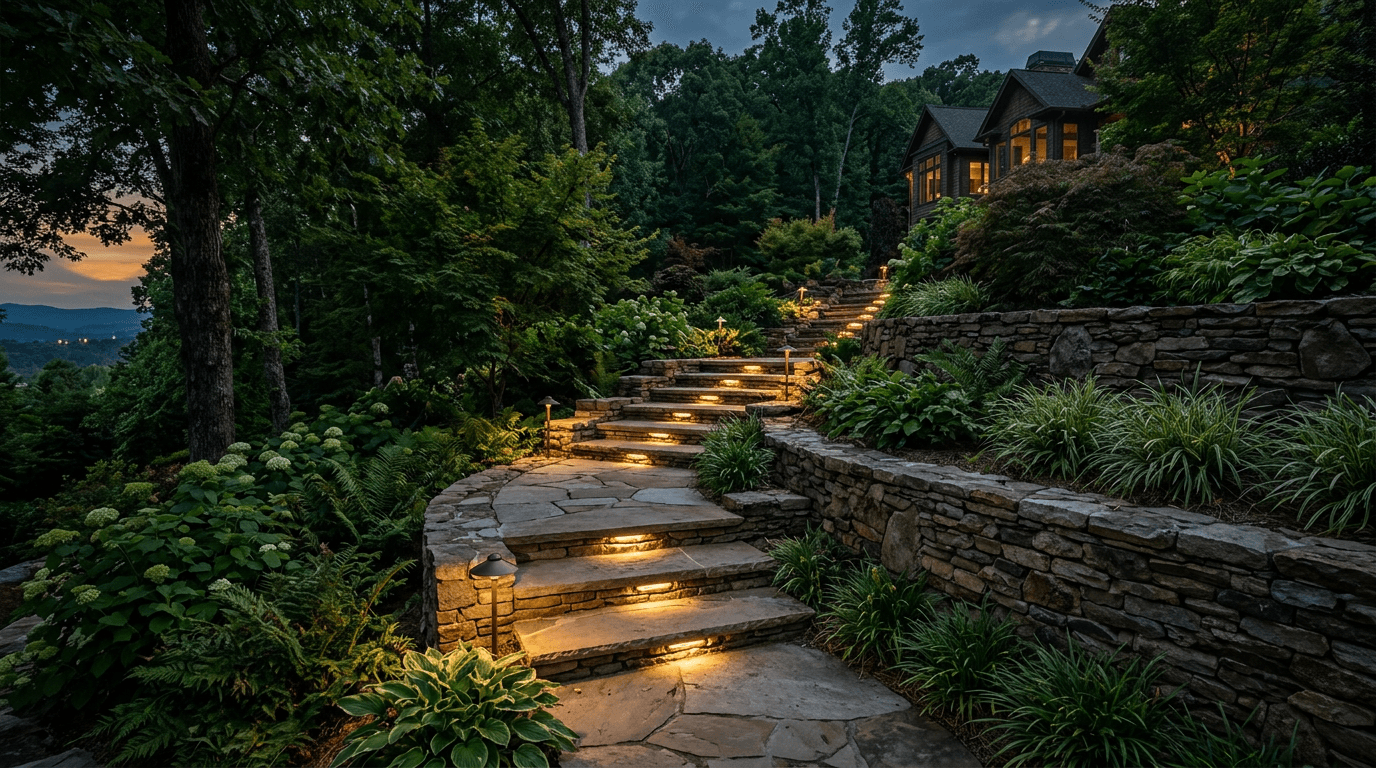
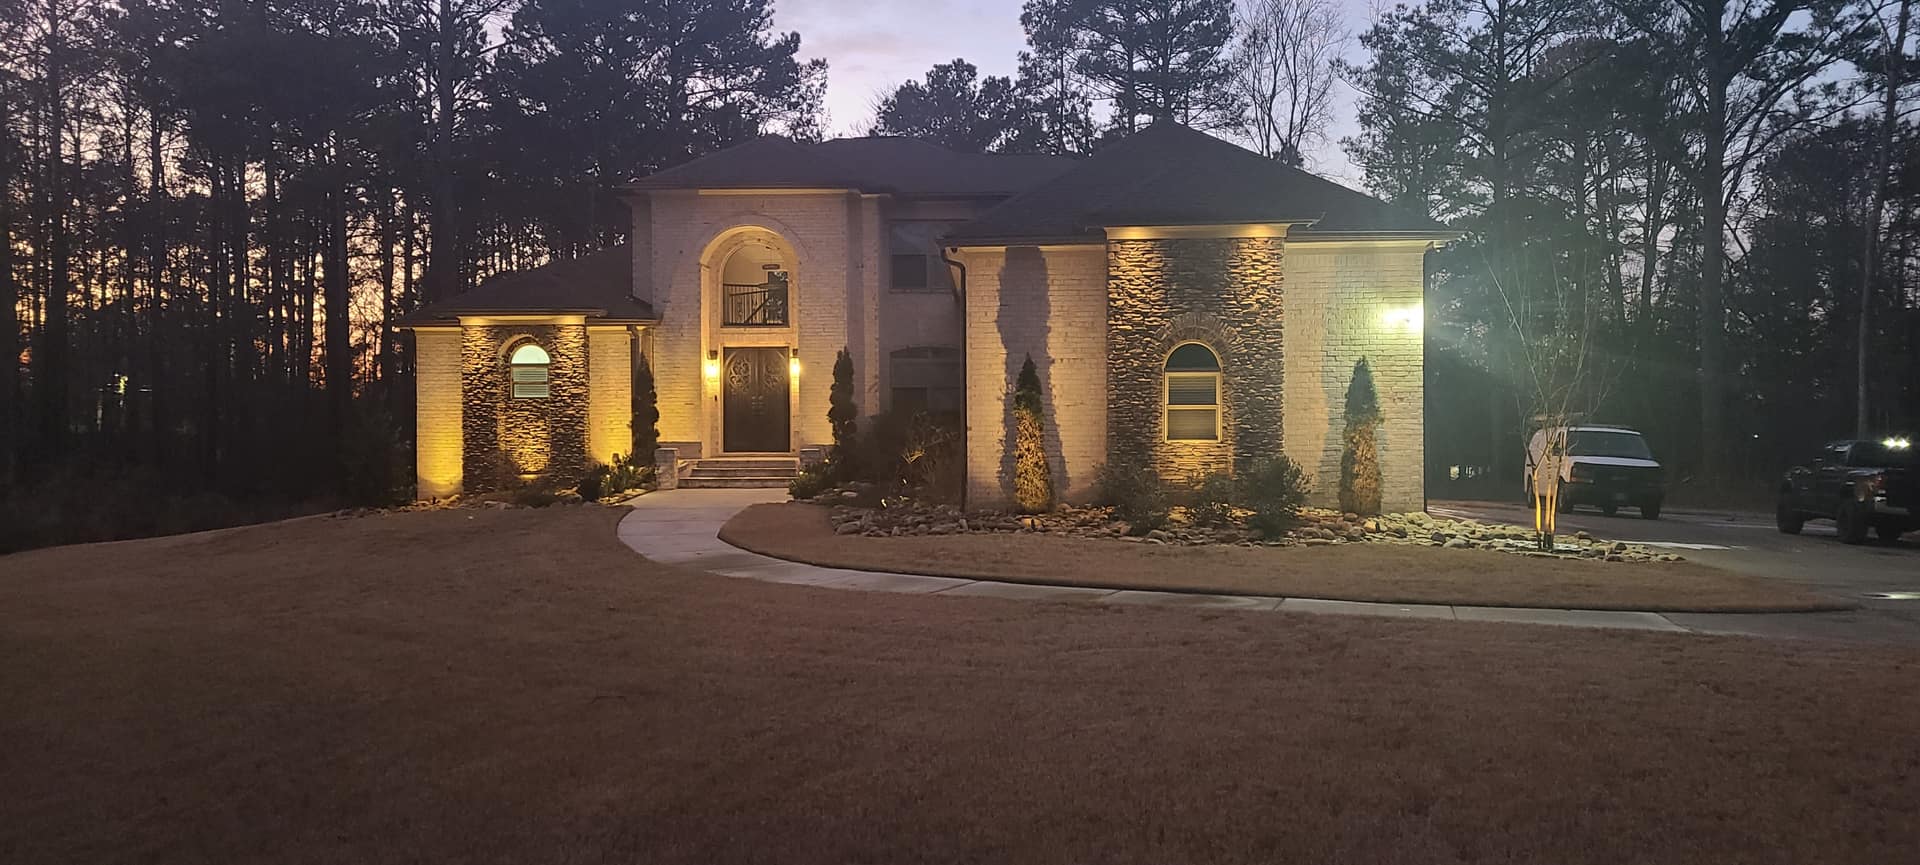
For paths and steps, downward-casting fixtures can reveal the walking surface while limiting direct view of the light source. For trees and facades, careful aiming and modest output help keep the beam on the subject instead of scattering above the roofline. The best fixture depends on the location; no single fixture style solves every glare problem.
Use the lowest comfortable brightness
A dark-adapted eye can make modest light go a long way. Begin with a restrained output and check the result from several viewpoints. If the path edge, stair, or entry is easy to recognize without a harsh bright spot, increasing brightness may add glare rather than useful visibility.
Avoid lining up identical fixtures so closely that their pools of light merge into a bright strip. Spacing, shielding, surface color, slope, and surrounding darkness all affect how a path reads, so assess the finished effect at night rather than relying on a daytime fixture count.
Put lighting on a schedule
Timers, photocells, dimmers, and smart controls can limit lighting to the hours and zones when it is useful. Set everyday accent lighting to switch off or dim later in the evening, and leave only the lighting needed for late arrivals or essential navigation. A control plan also makes it easy to use a lower, quieter scene when the patio is not being used.
If you use motion-activated lights, set them to cover the area you intend to see and avoid aiming them toward roads, windows, or neighboring properties. Test the trigger area and duration at night so an animal or passing car does not leave a large section of the yard brightly lit for longer than needed.
Choose a warm, consistent color
For a home landscape, warm-white light is often a comfortable starting point for paths, entries, trees, and architecture. Keep color choices consistent across nearby fixtures; mixing noticeably different whites can make a small yard feel disjointed. The right tone depends on materials and preference, so compare samples on the actual surfaces after dark.
Colored or rapidly changing light can be fun for a brief occasion, but it is rarely necessary for everyday navigation. Save special effects for a defined purpose and turn them off when that moment is over.
Do a five-minute night-sky check
After installation, step outside and check the design from the street, your seating area, and the edges of the property. Look for a bare lamp in your line of sight, a bright patch on a wall, light crossing a property line, or a beam reaching above a tree or roof. Adjust, shield, dim, or switch off the source that is creating the problem, then check again from the same positions.
This practical approach follows the spirit of responsible-lighting guidance: use light where it is useful, direct it carefully, keep it no brighter than necessary, and control when it is on. For local restrictions or approval requirements, check your HOA and the relevant local authority; this design guide is not a substitute for those rules.
A calmer night can still be a welcoming one
Dark-sky-friendly does not mean leaving every walkway or doorway unlit. It means making each light earn its place and designing the beam, brightness, and schedule around the people who use the property. If you are planning a new system, a nighttime walkthrough can help identify where focused lighting improves the experience—and where darkness is already doing its job.